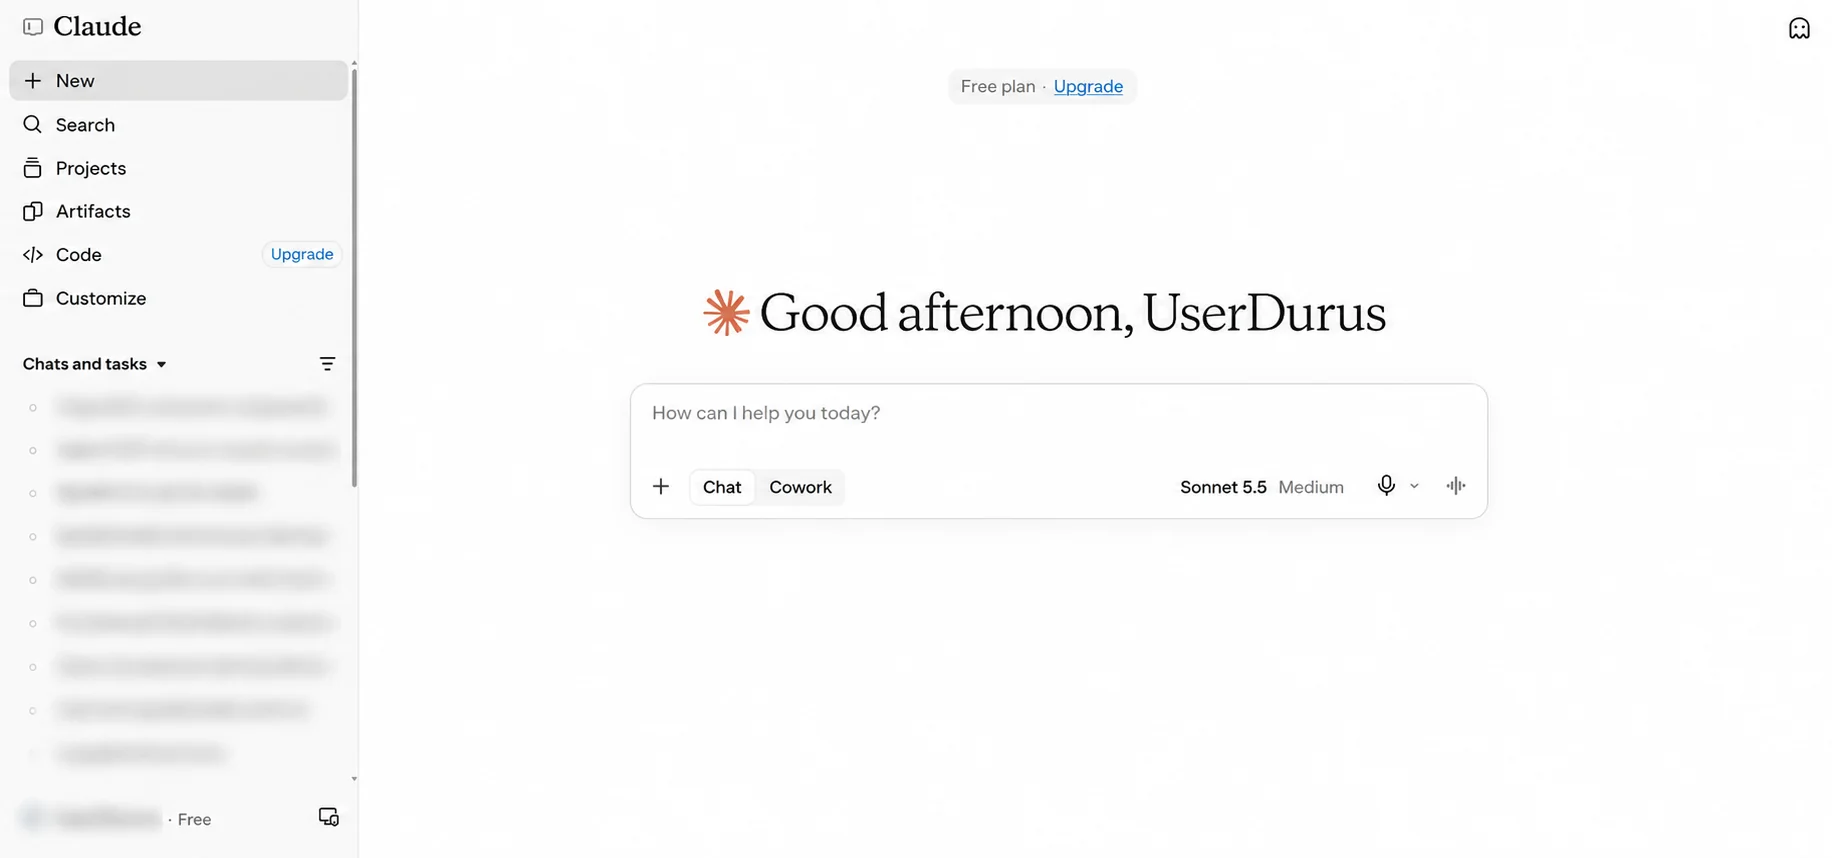
1. Open Customize in Claude
In Claude, select Customize in the left sidebar.
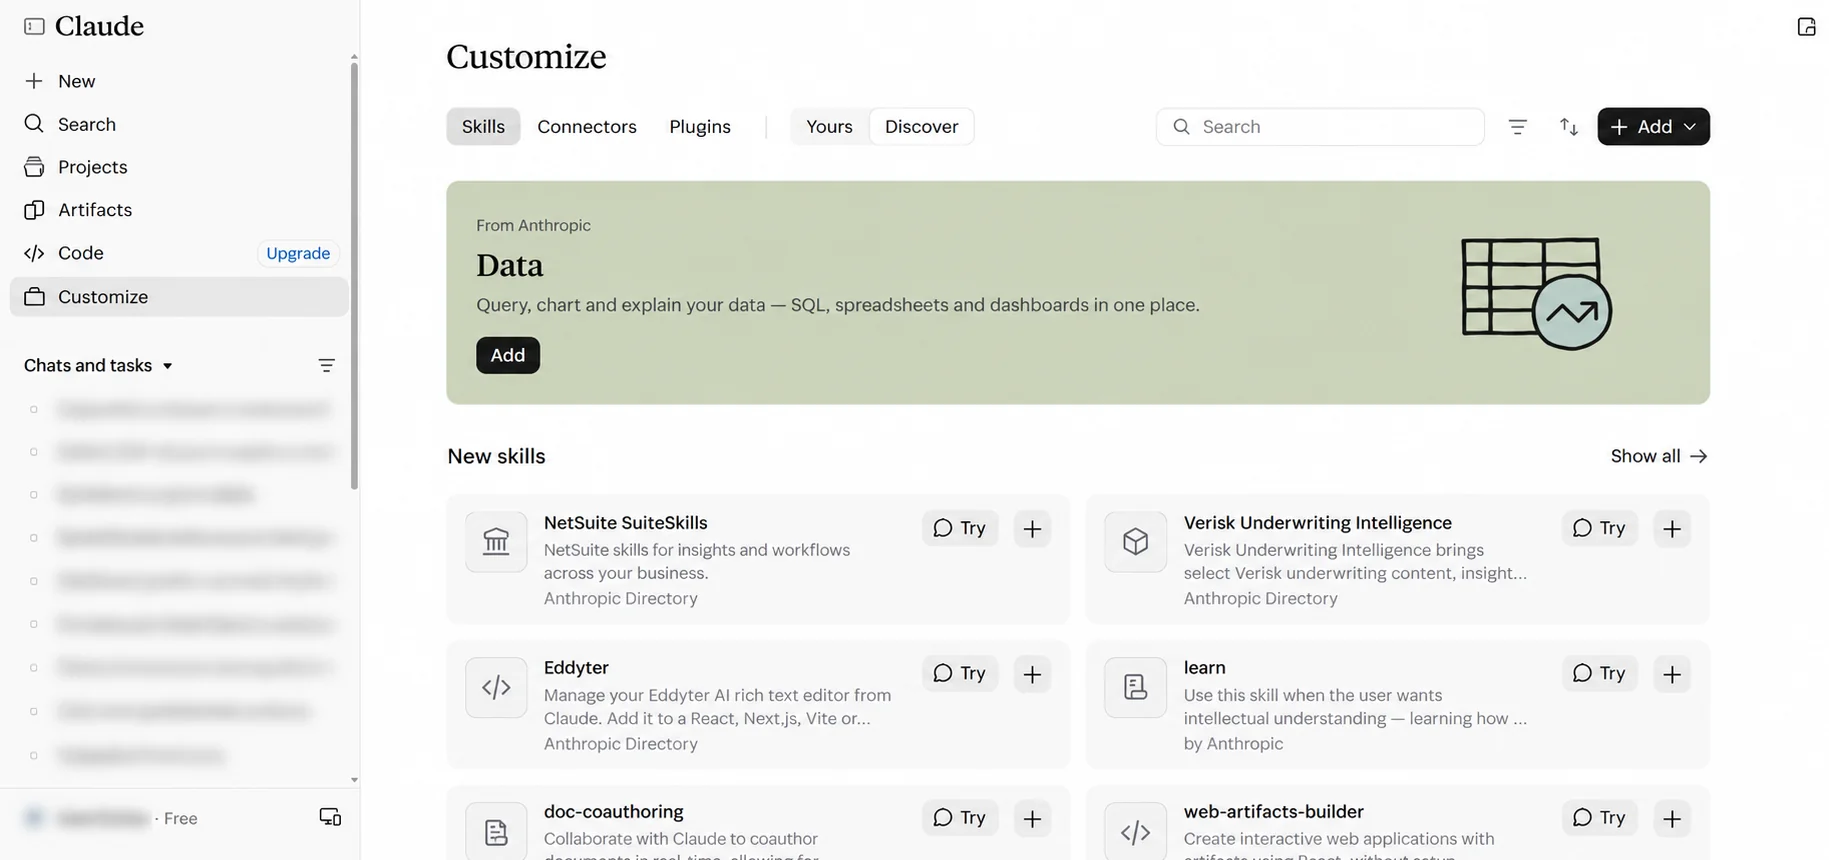
2. Switch to Connectors
Select the Connectors tab at the top of the Customize page.
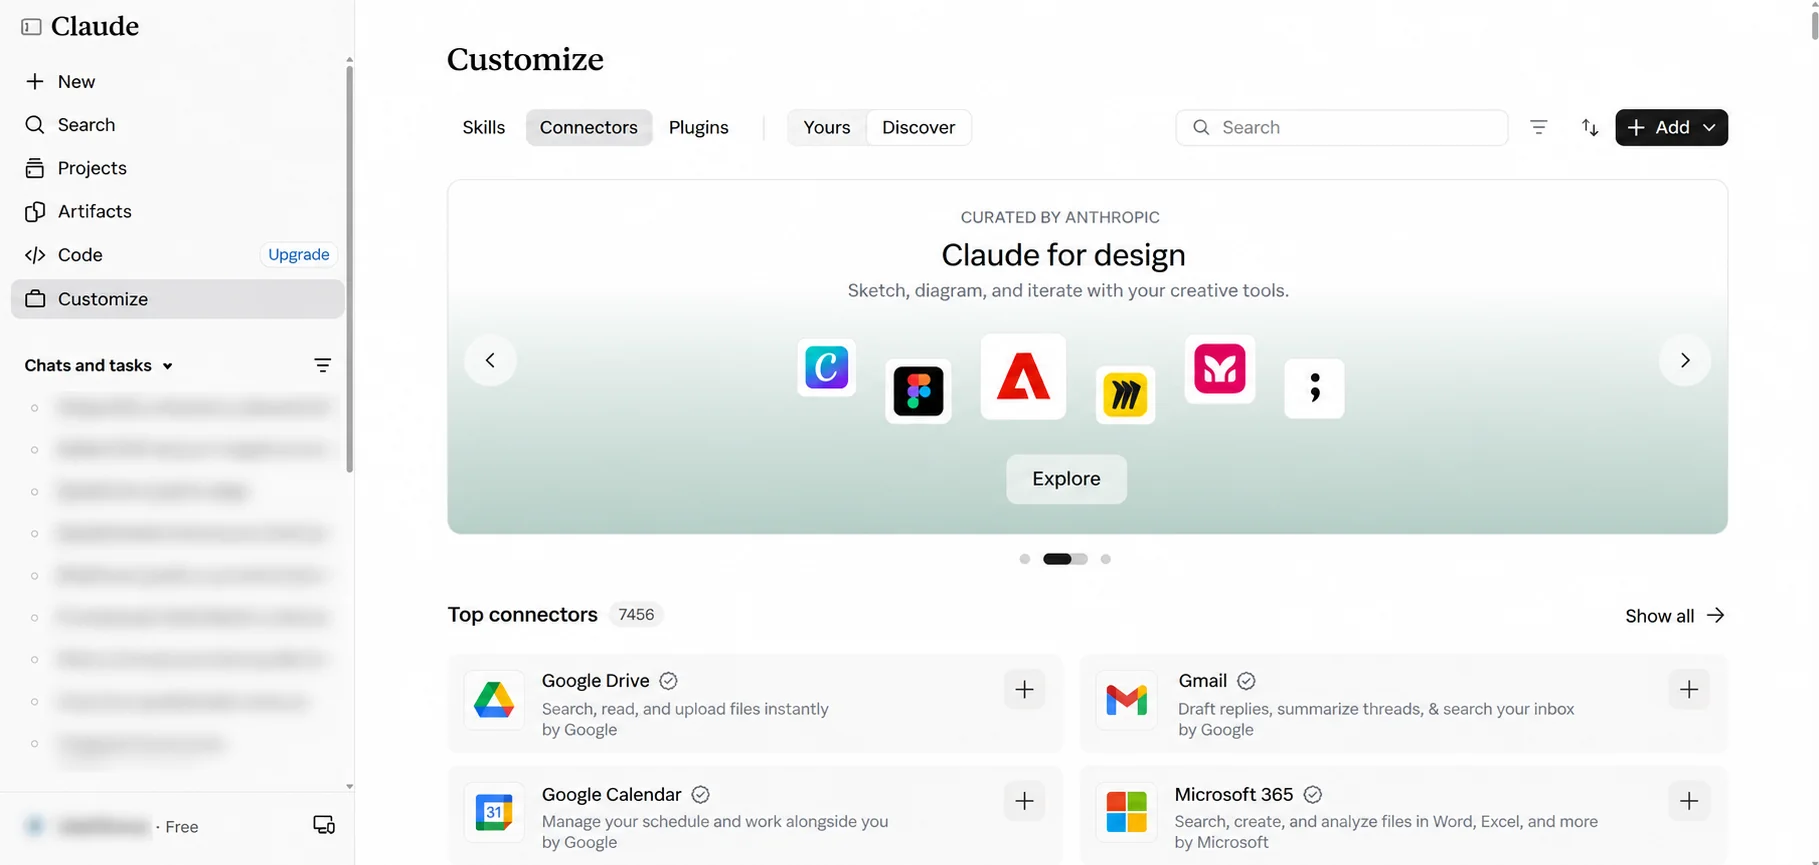
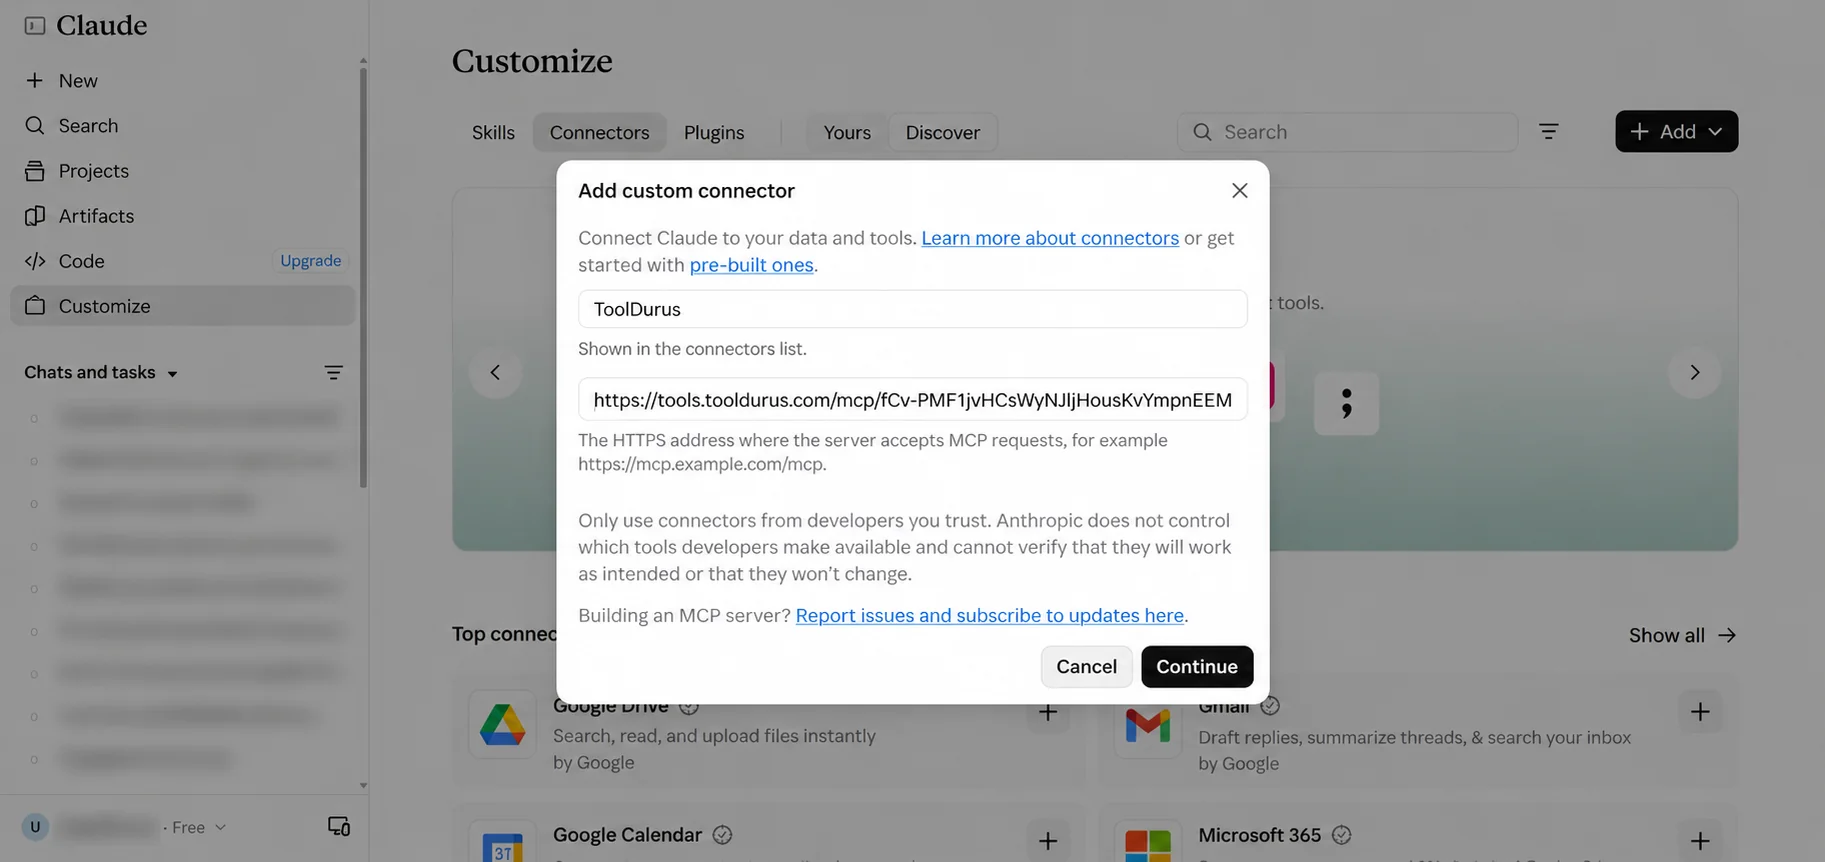
3. Add a custom connector
Click Add in the upper-right corner, then choose Add custom connector.
4. Enter your ToolDurus MCP URL
Enter ToolDurus as the connector name and paste your own personal ToolDurus MCP server URL into the URL field. Do not copy the URL shown in the screenshot. Click Continue.
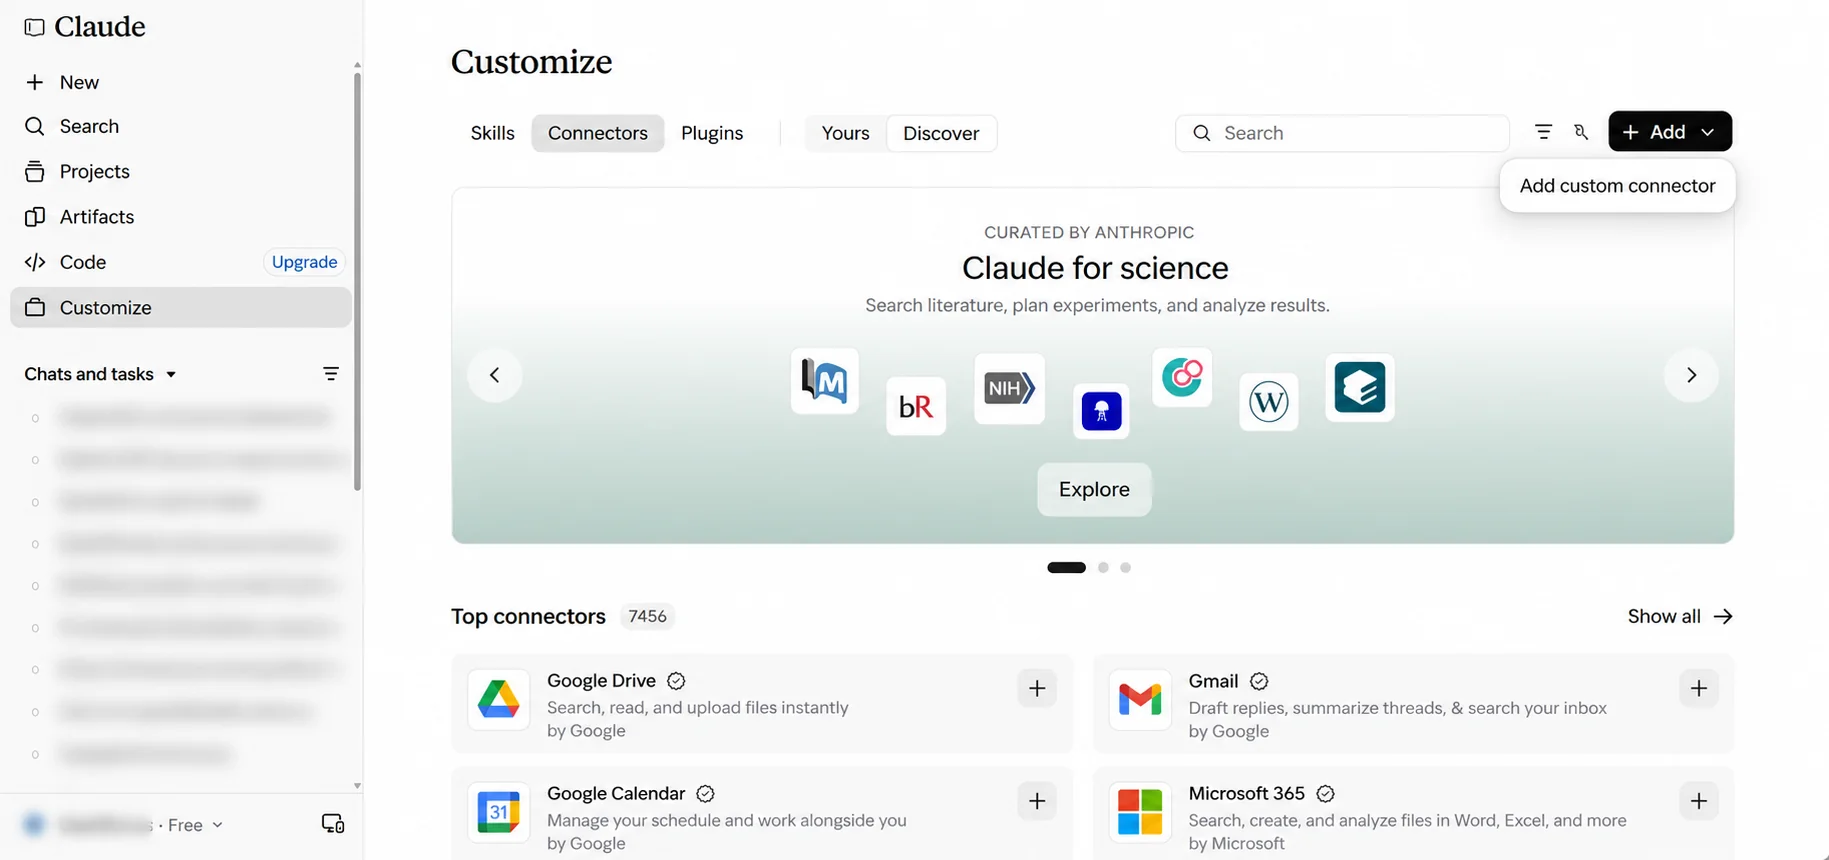
Your personal ToolDurus MCP URL may contain an access token. Treat the entire URL like a password. Never share it, publish it in screenshots, public chats or repositories. If exposed, revoke or rotate the token in ToolDurus.
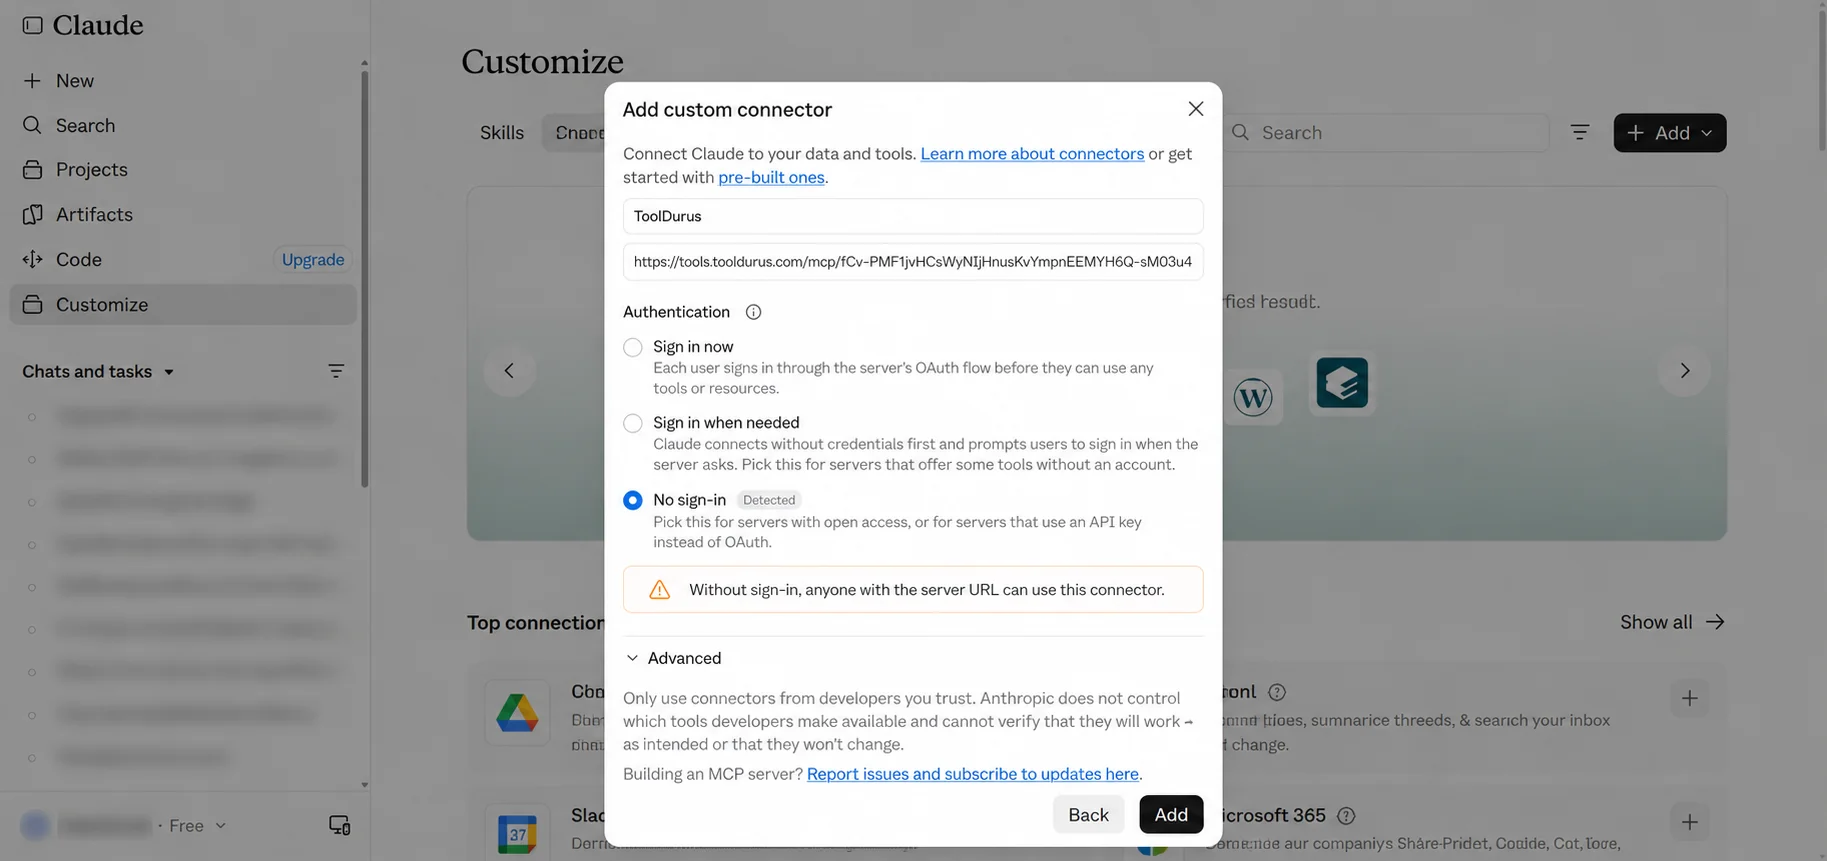
5. Choose the authentication mode
Claude detects No sign-in for this connector. Keep No sign-in selected, review the warning that anyone with the server URL can use the connector, then click Add. The personal URL must remain private.
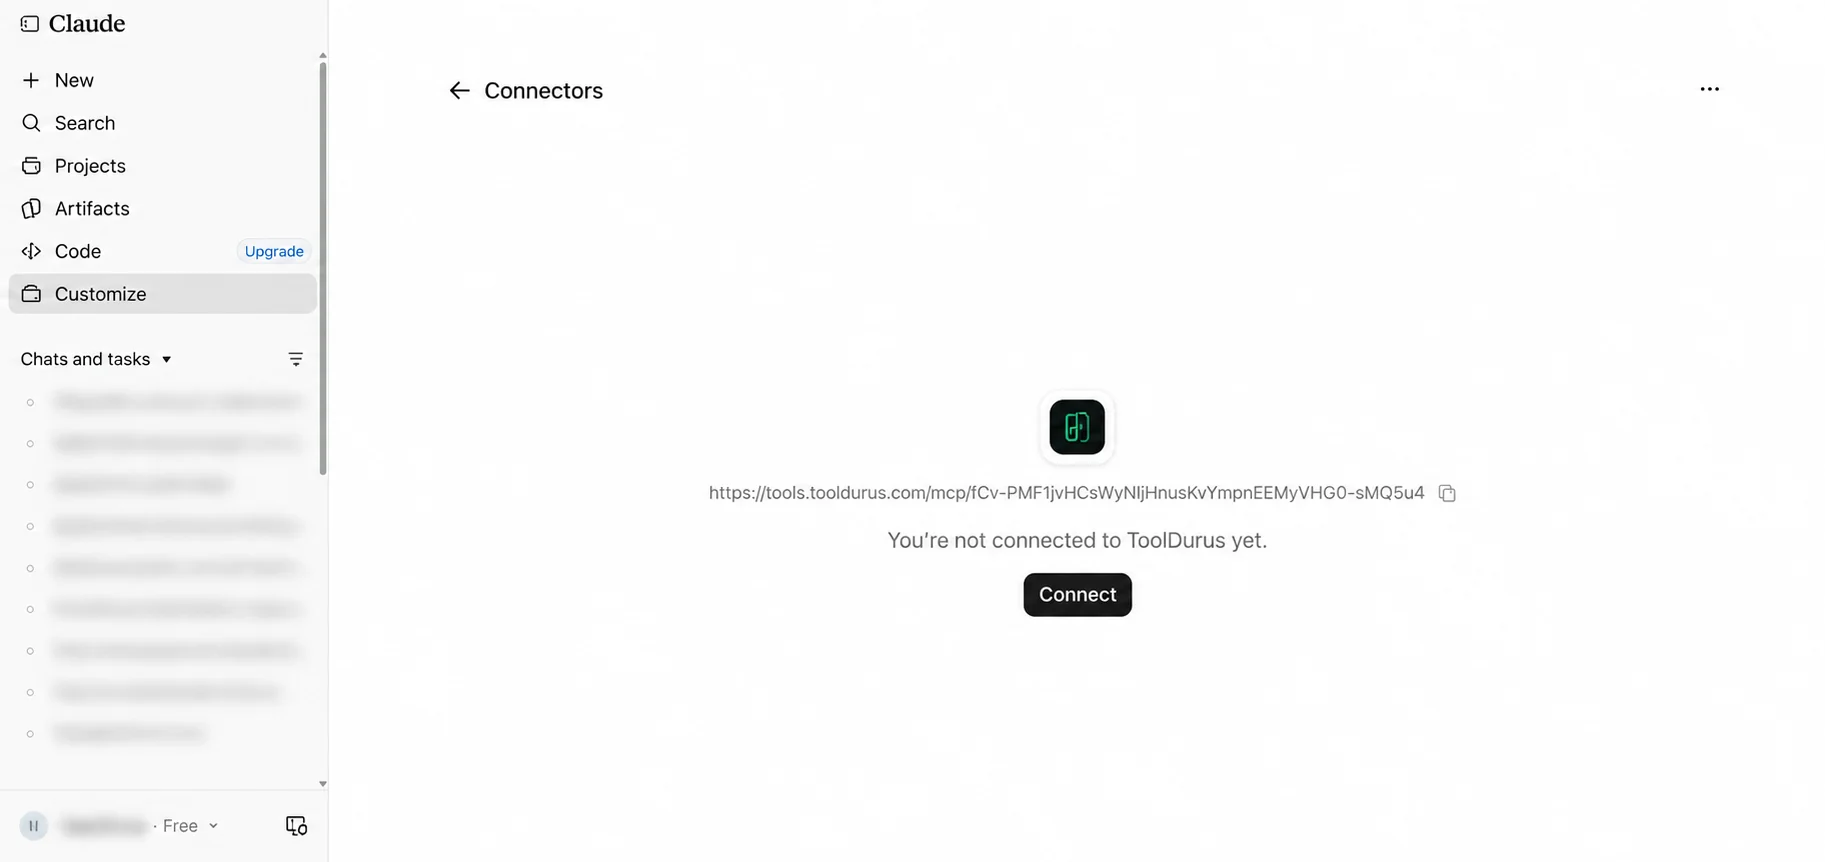
6. Connect ToolDurus
On the ToolDurus connector page, click Connect.
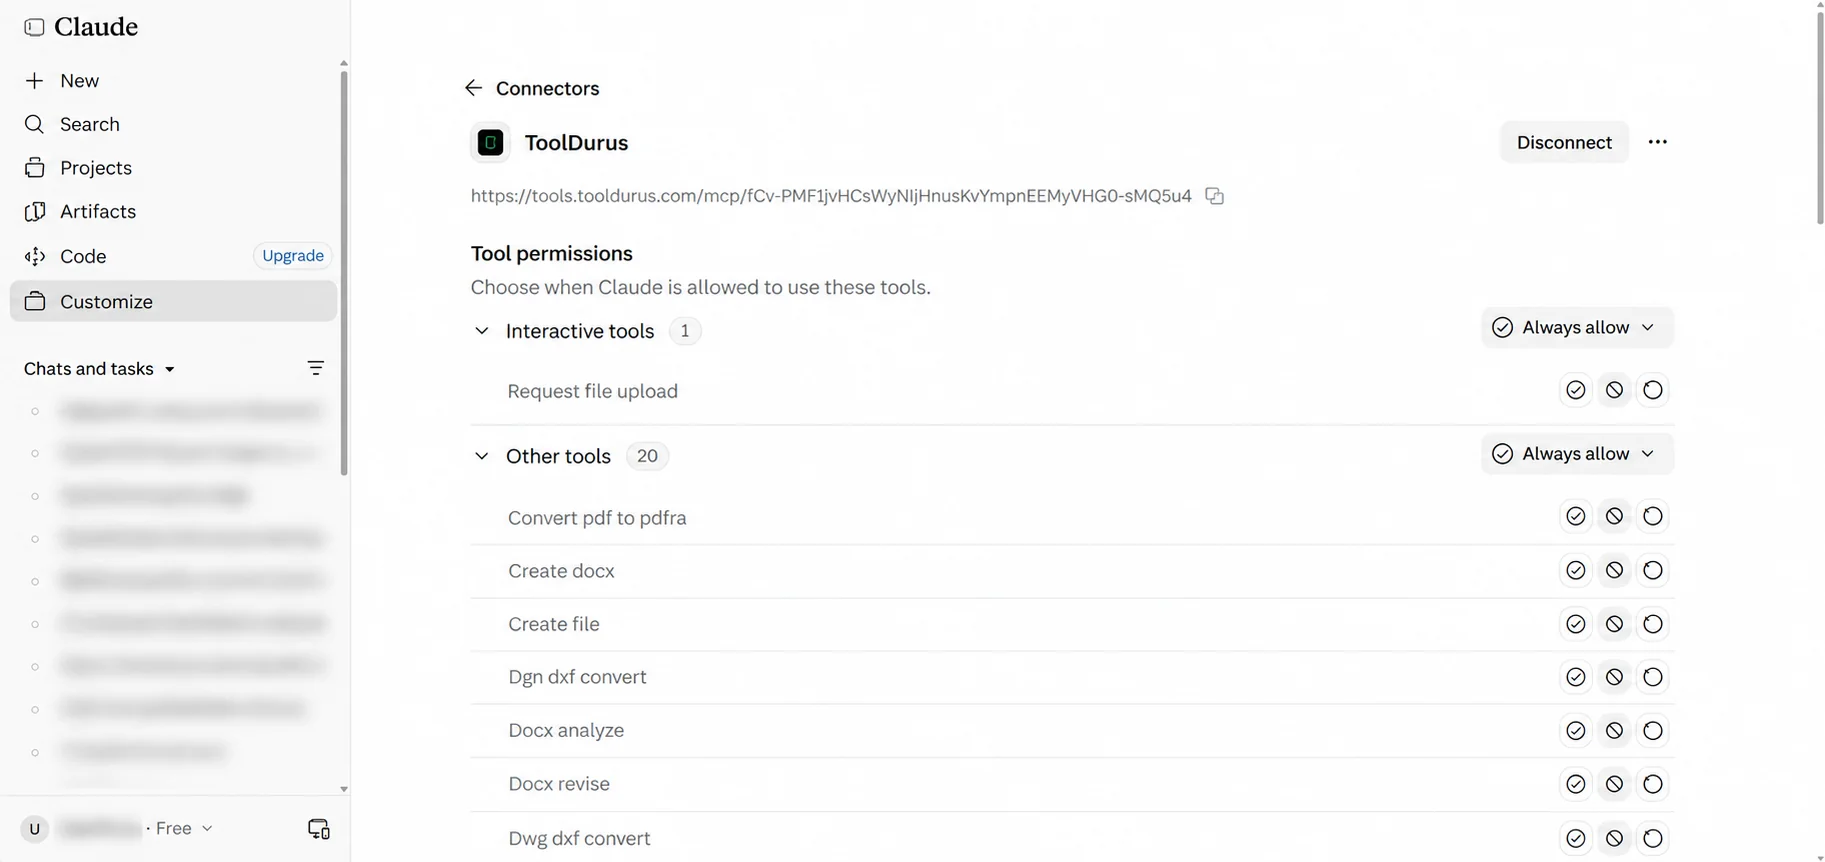
7. Review tool permissions
Once connected, Claude displays ToolDurus tools and their permissions. Review each permission and choose the level of access you are comfortable granting. The screenshot shows Always allow; you do not have to enable it for every tool.
8. Upload a file in Claude
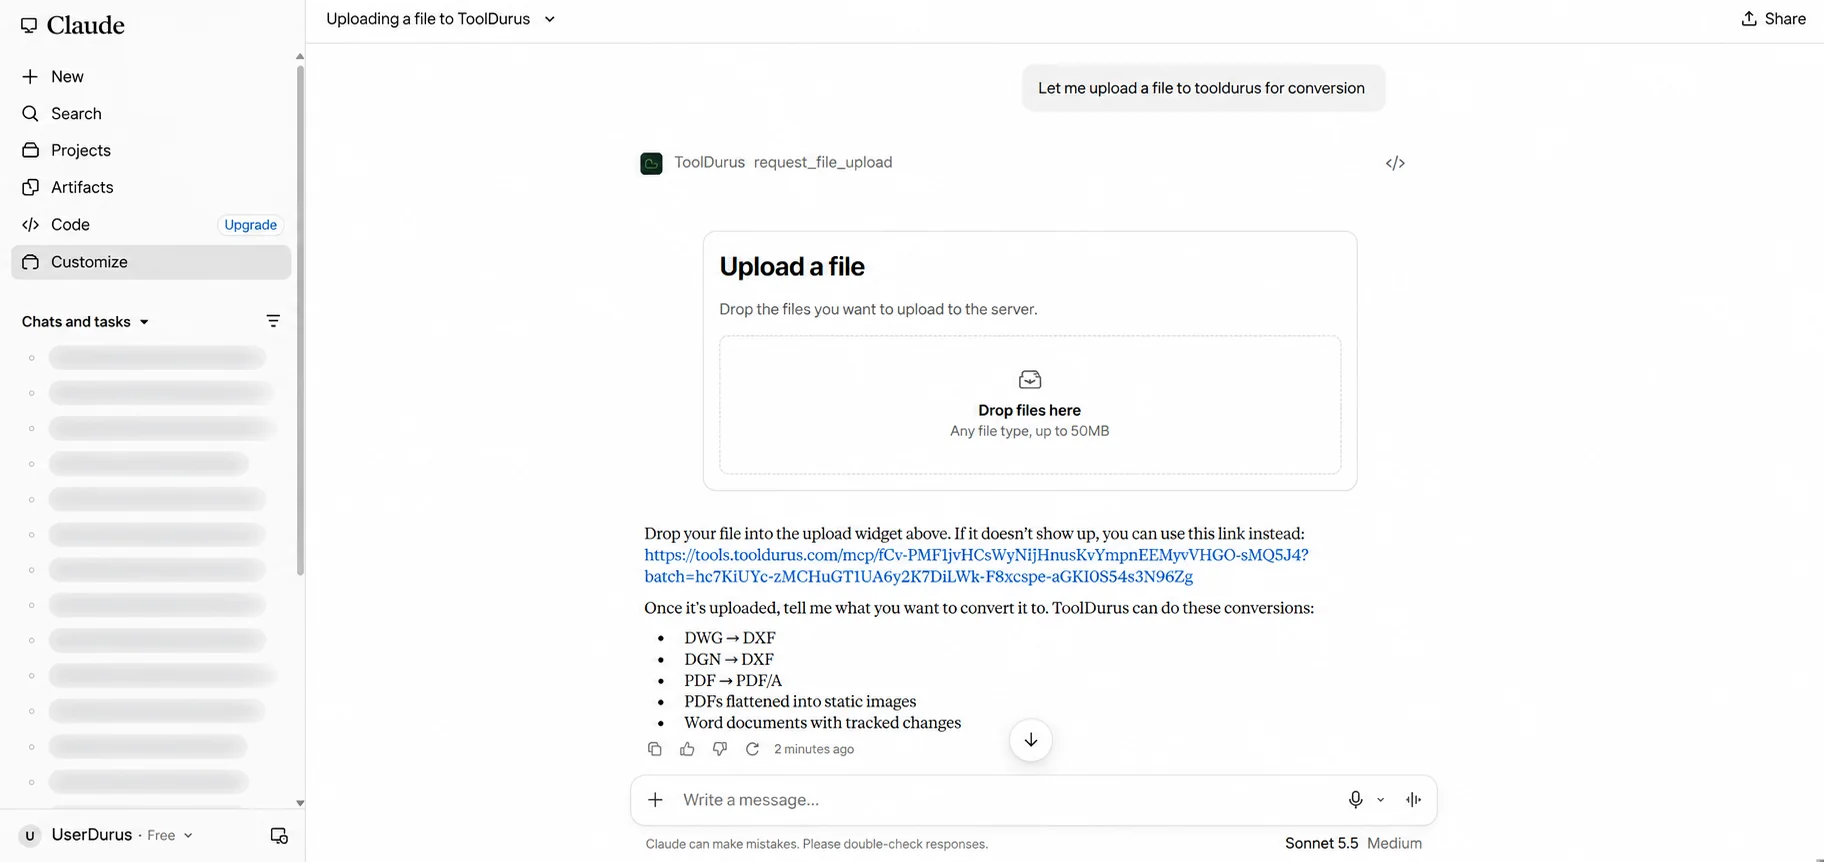
Start a new chat and ask Claude to let you upload a file to ToolDurus. Use the upload widget to select or drop your file.
9. Run a conversion and download the result
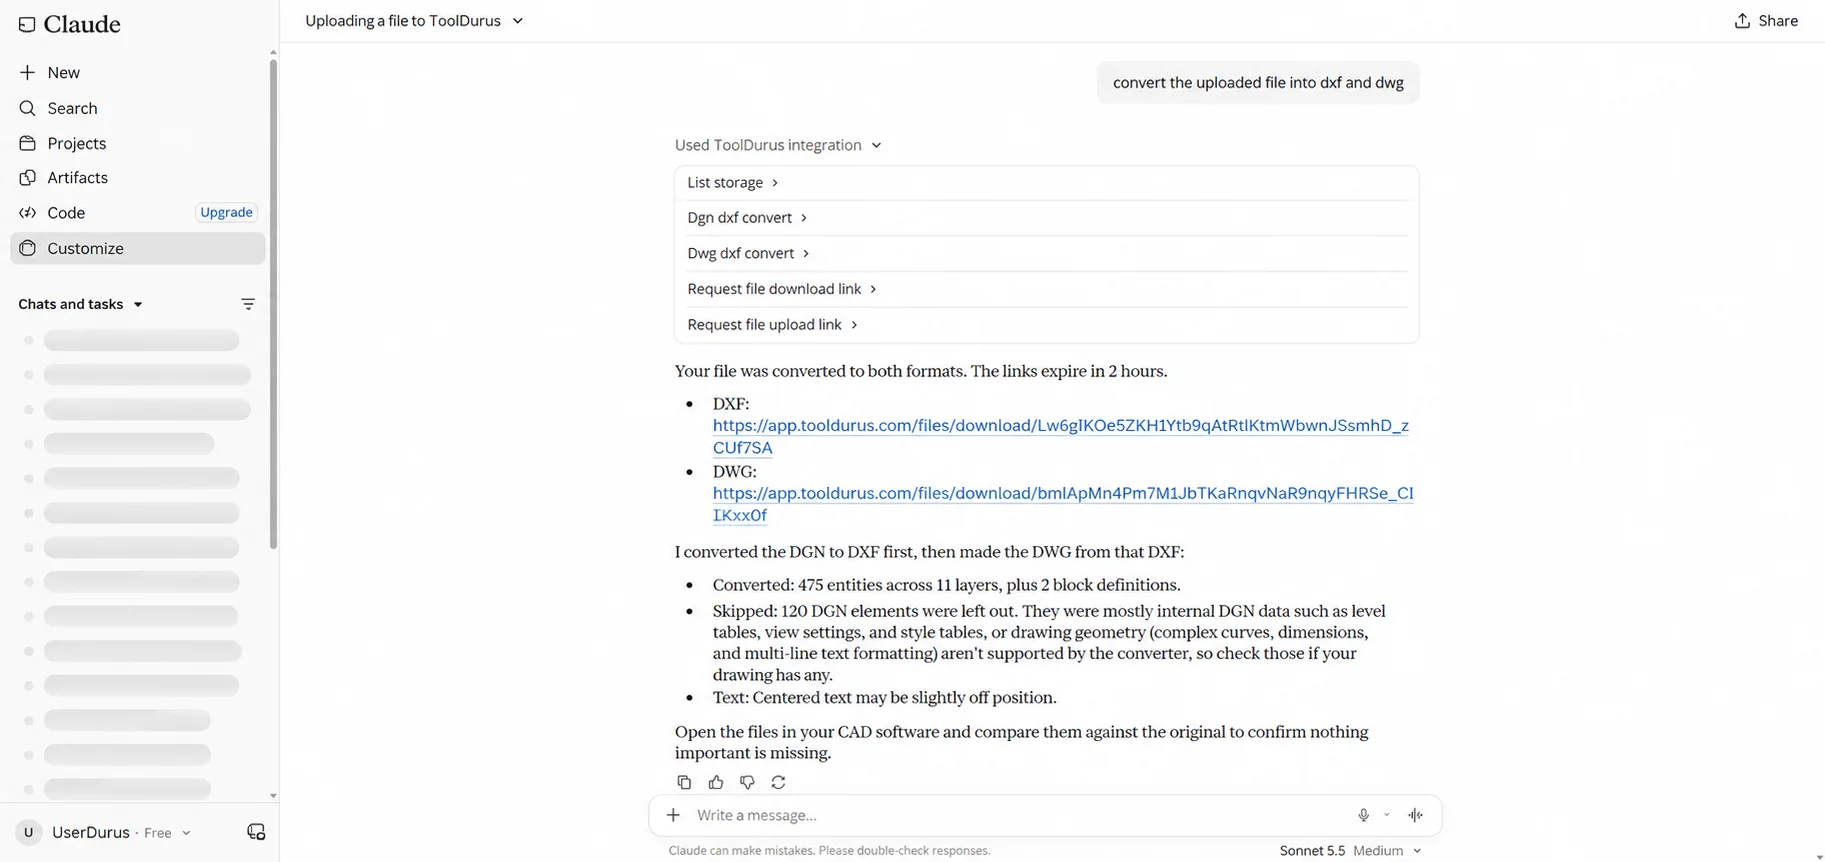
Tell Claude which format you need. In this example, Claude converts a DGN file to DXF and DWG and provides temporary download links. Review any conversion warnings and check the output in your CAD software.
10. Start a new conversation
ToolDurus is now available to Claude. Open a new chat and describe the task you want to perform.
Open ToolDurus →