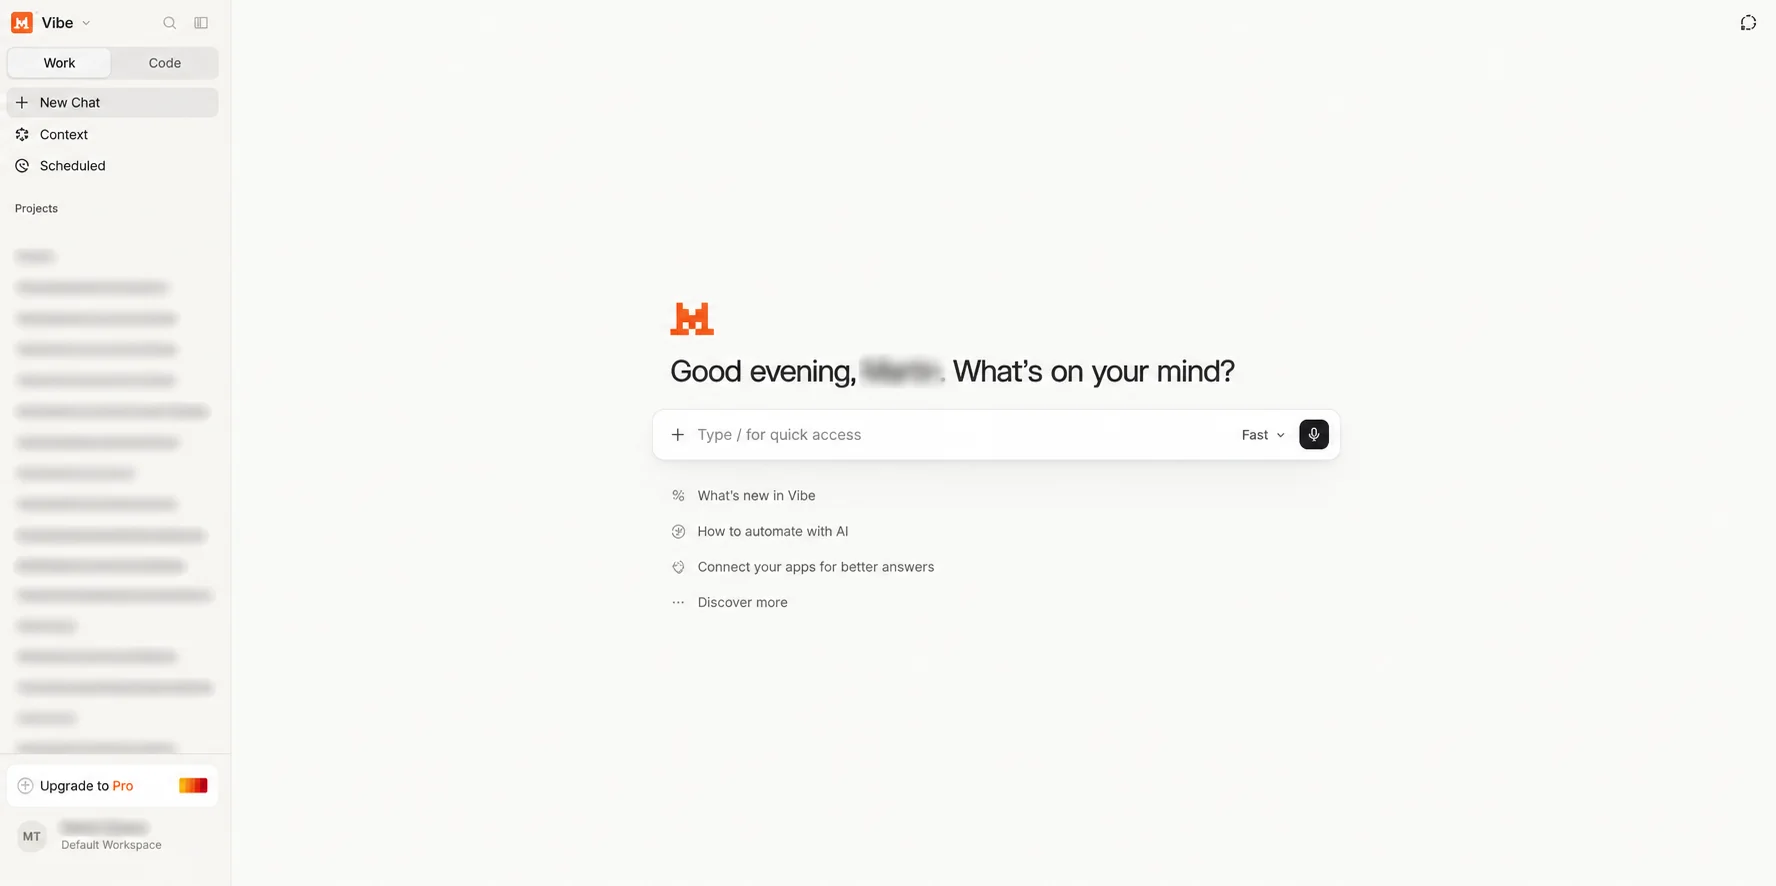
1. Open Mistral Le Chat
Open Mistral Le Chat in your browser. In the left sidebar, find Context → Connectors.
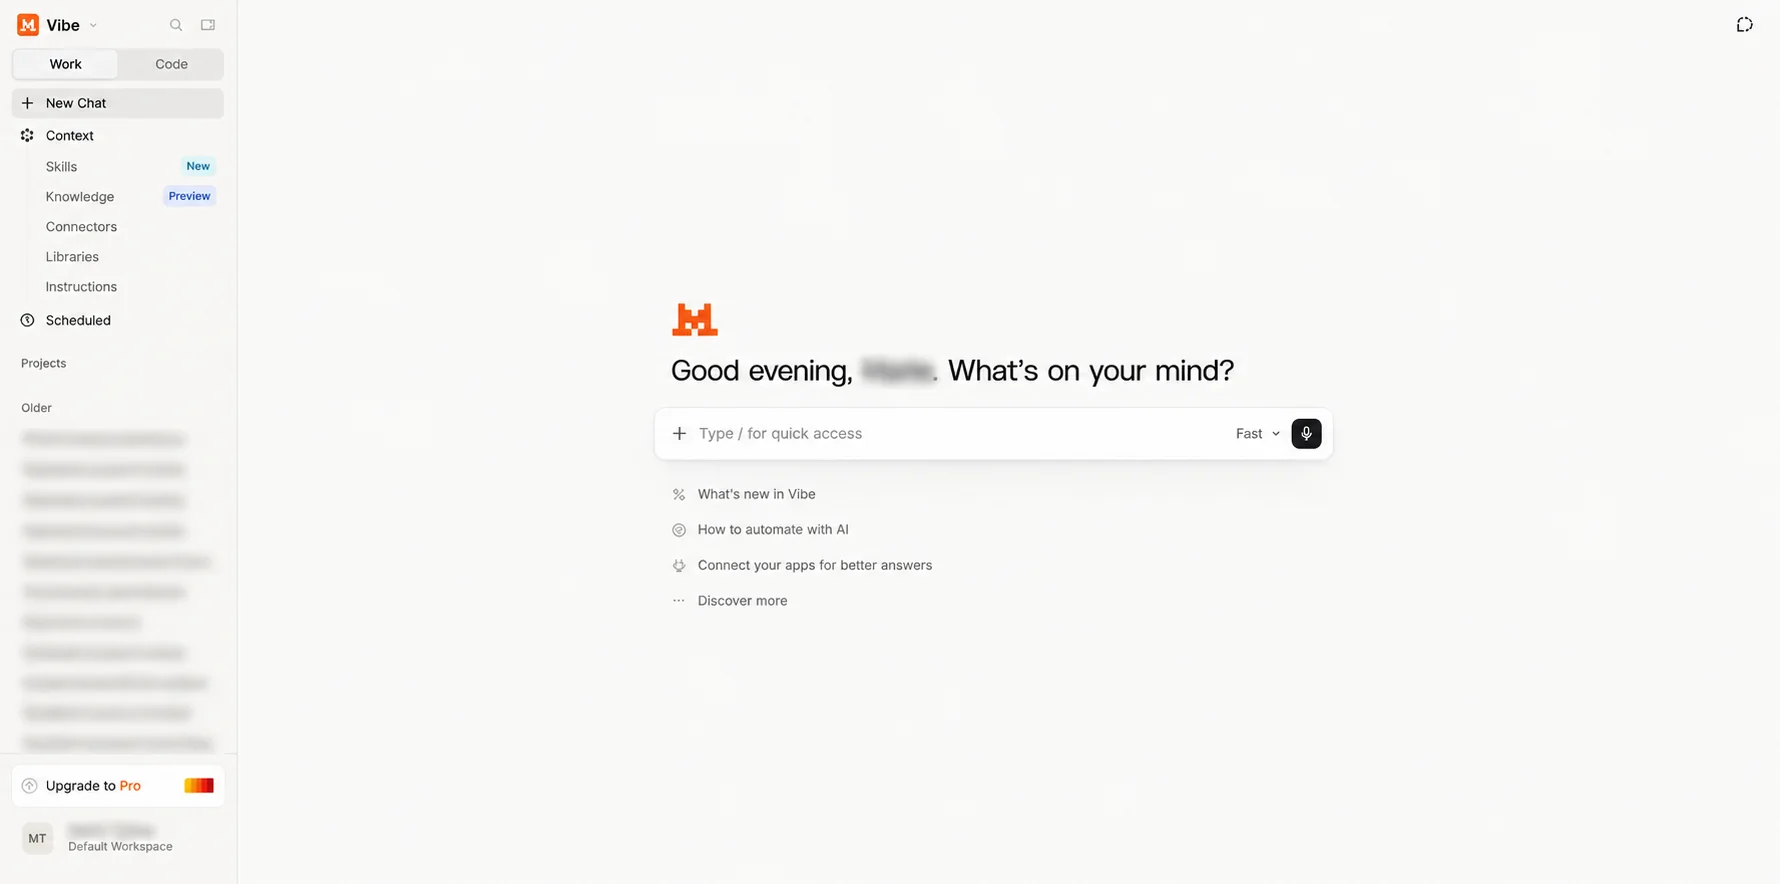
2. Open Connectors
Select Connectors in the sidebar. The page shows your connectors and a New connector button.
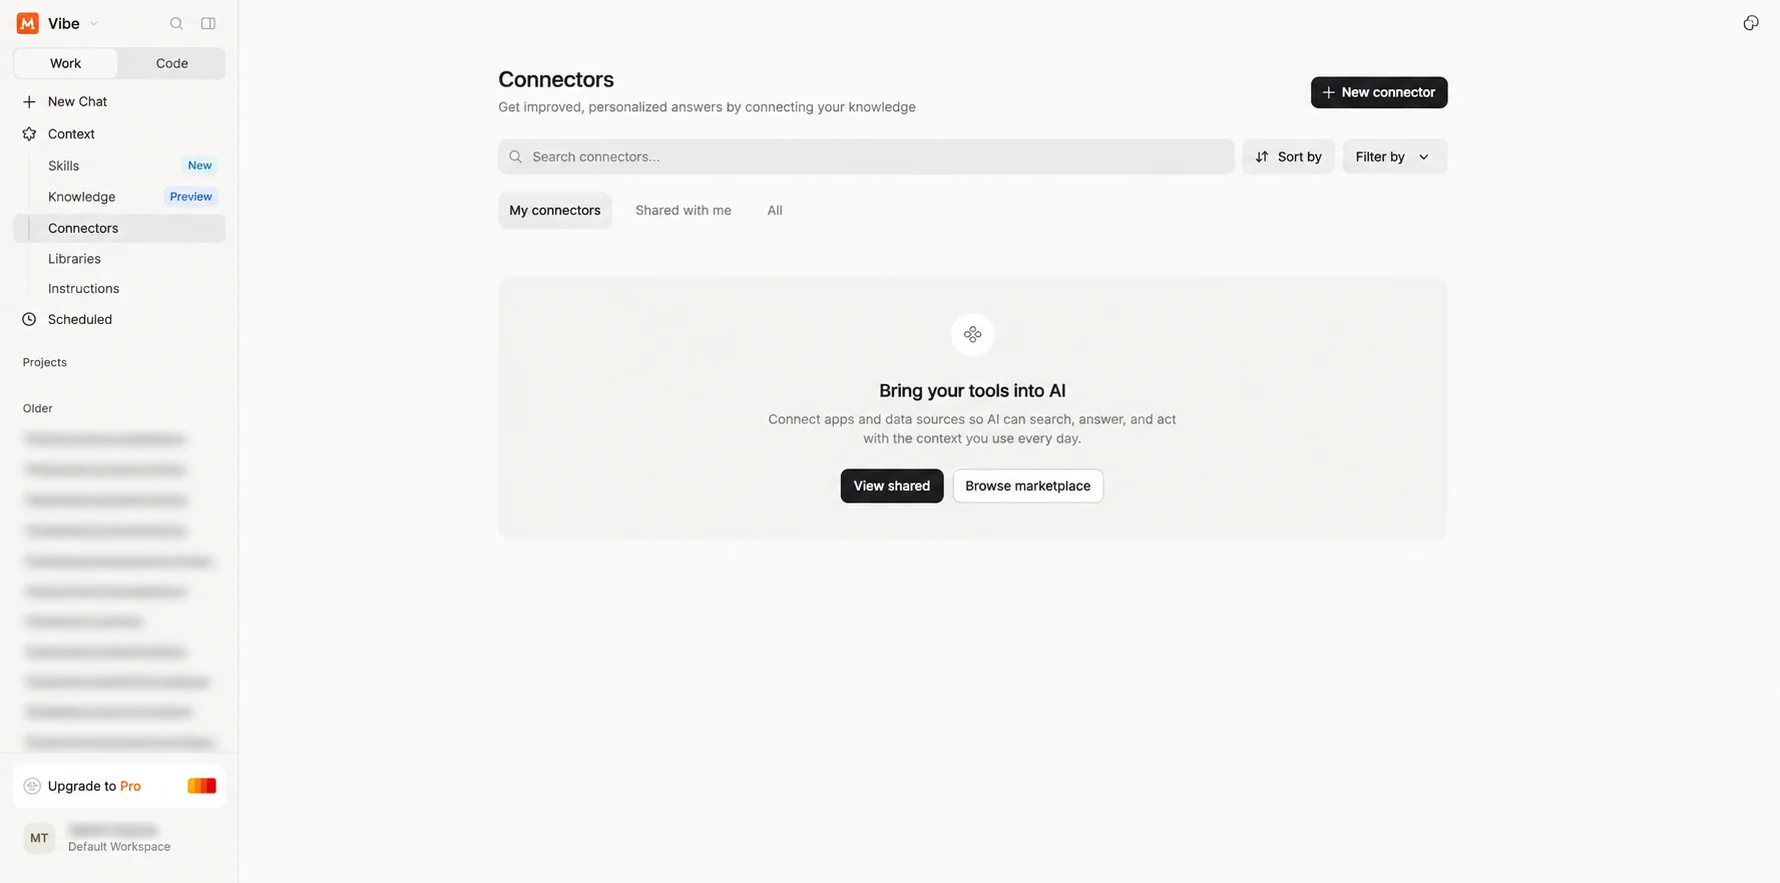
3. Open the marketplace
Click Browse marketplace to open the connector marketplace.
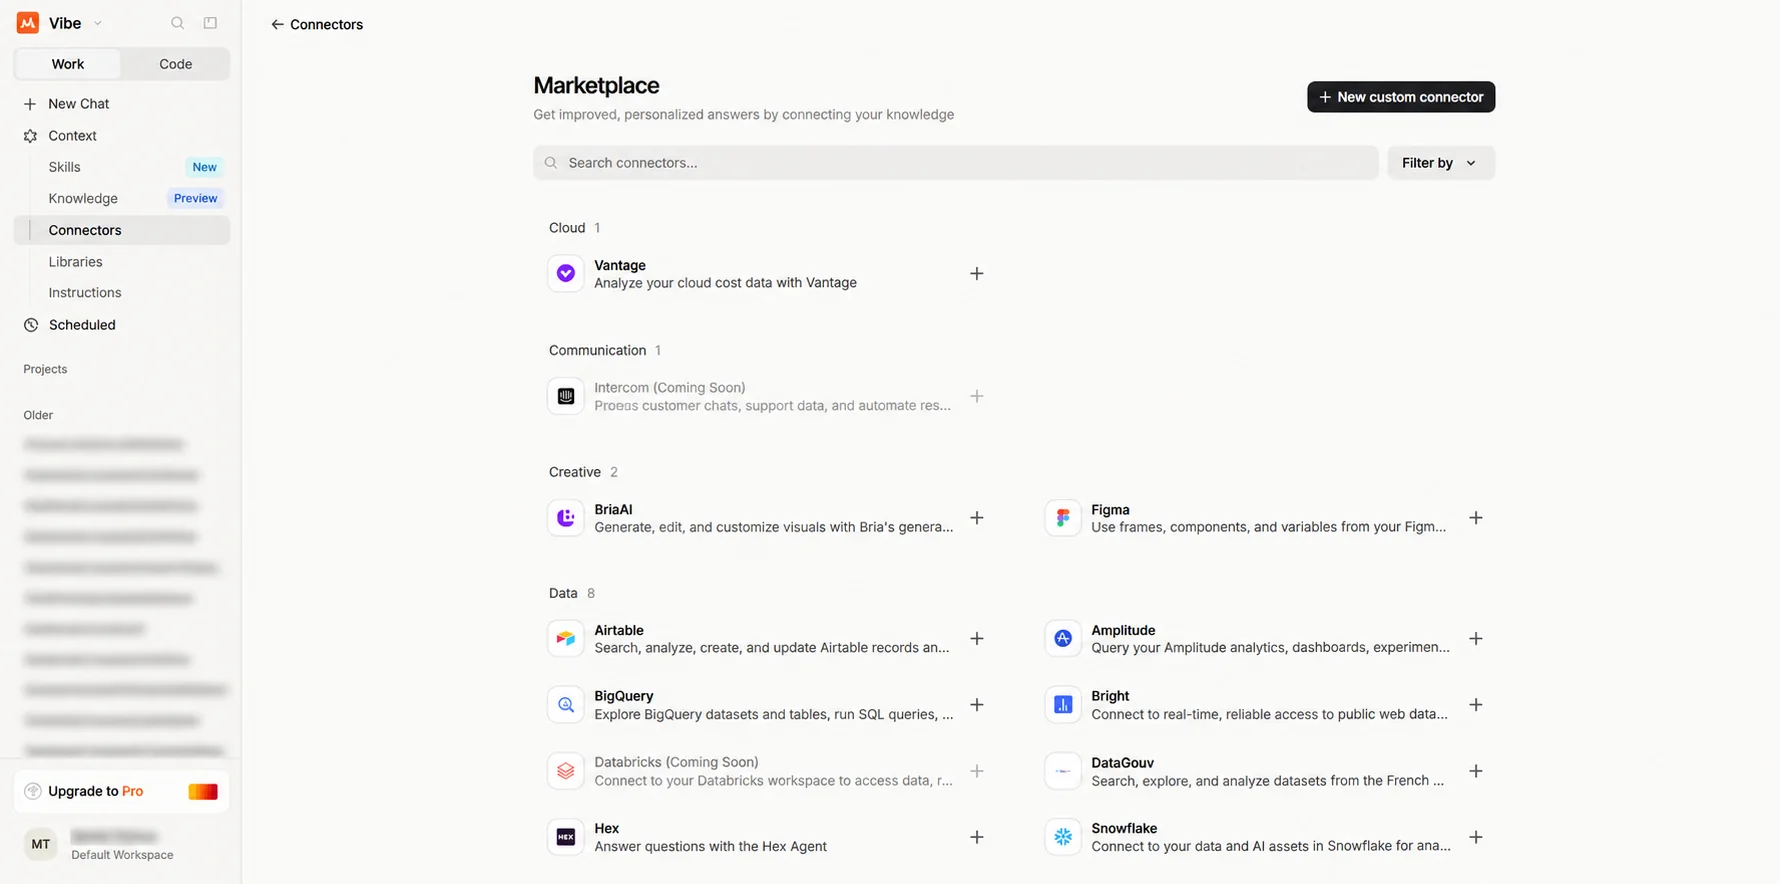
4. Add a custom connector
On the Marketplace page, select New custom connector in the upper-right corner.
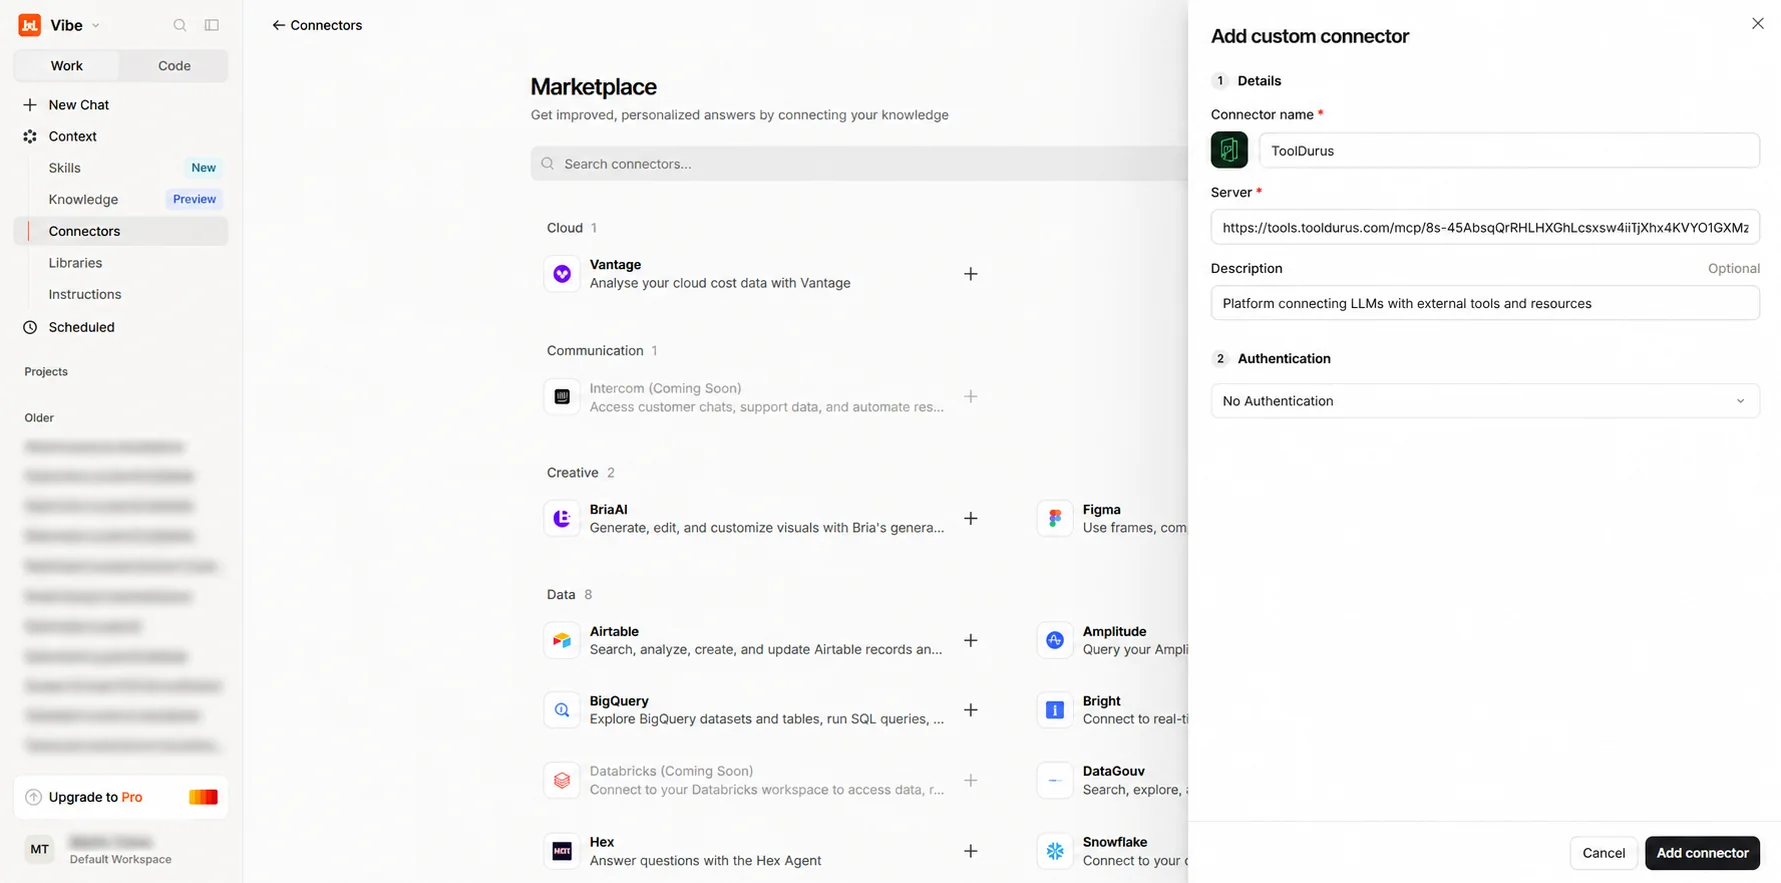
5. Enter your ToolDurus MCP details
Enter ToolDurus as the connector name. Paste your own personal ToolDurus MCP URL into Server. You can add a description such as “Platform connecting LLMs with external tools and resources”. Choose No Authentication if that is how your personal MCP endpoint is configured, then click Add connector. Never copy the URL from the screenshot.
Your personal MCP URL may contain an access token. Treat the entire URL like a password. Never publish it in screenshots, public chats, repositories, or share it with anyone. If exposed, revoke or rotate the token in ToolDurus.
6. Review available tools and permissions
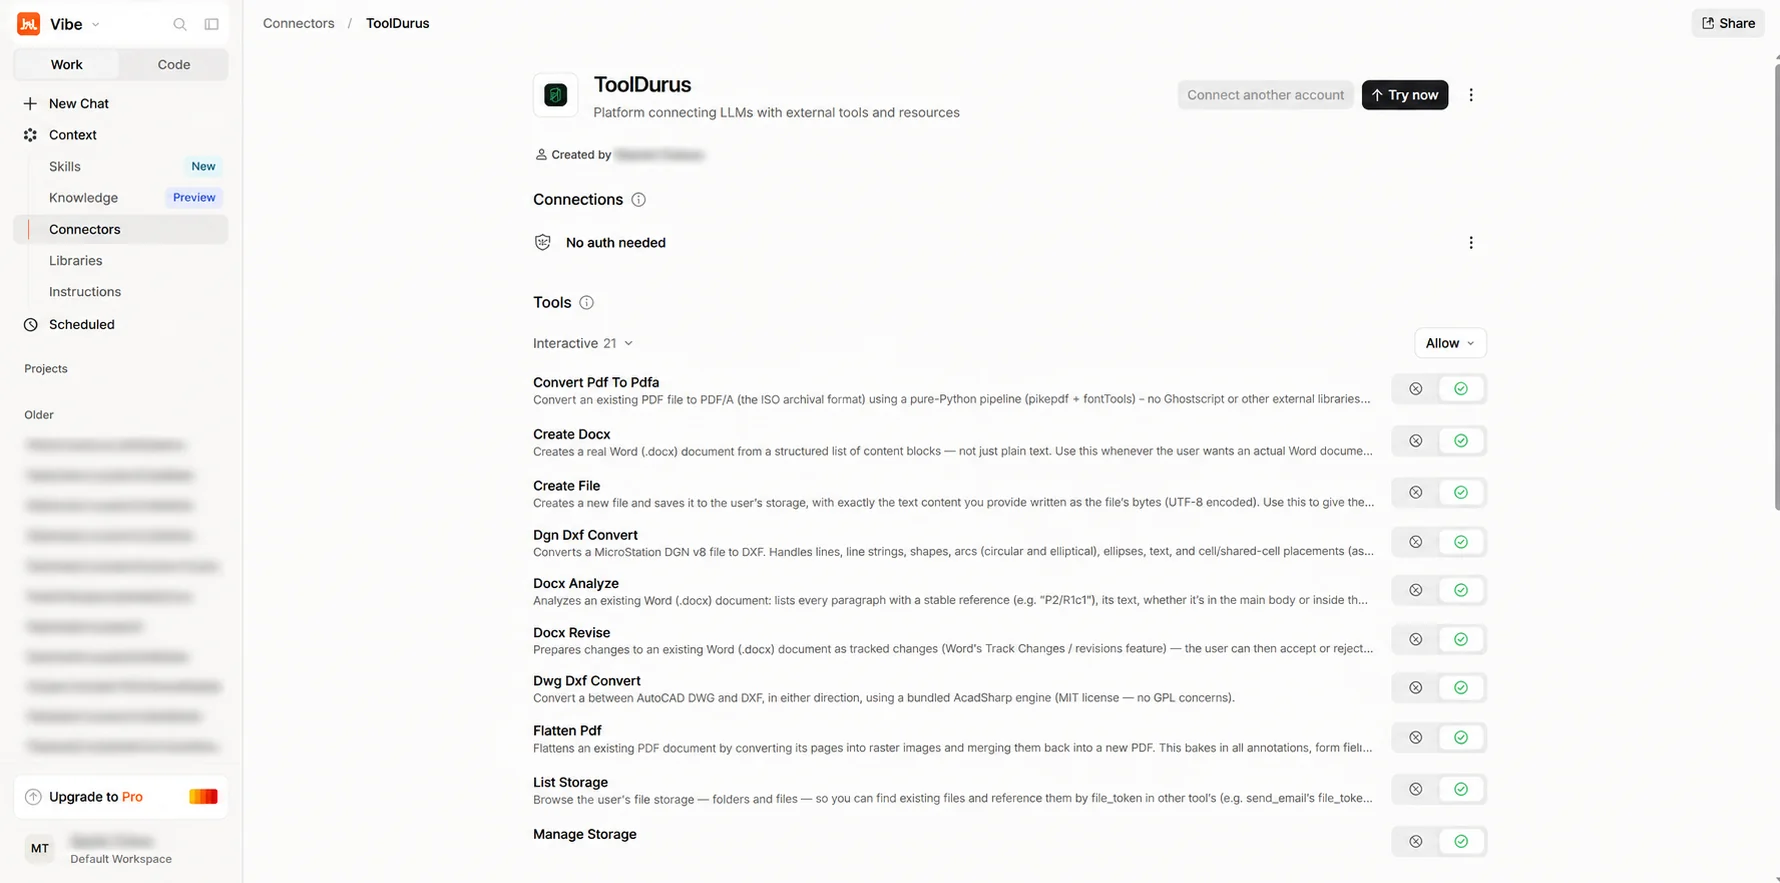
After adding the connector, review the available ToolDurus tools. Set permissions to match what you want Mistral to be able to do. The screenshot shows Allow; grant access only to tools you trust.
7. Try an email task
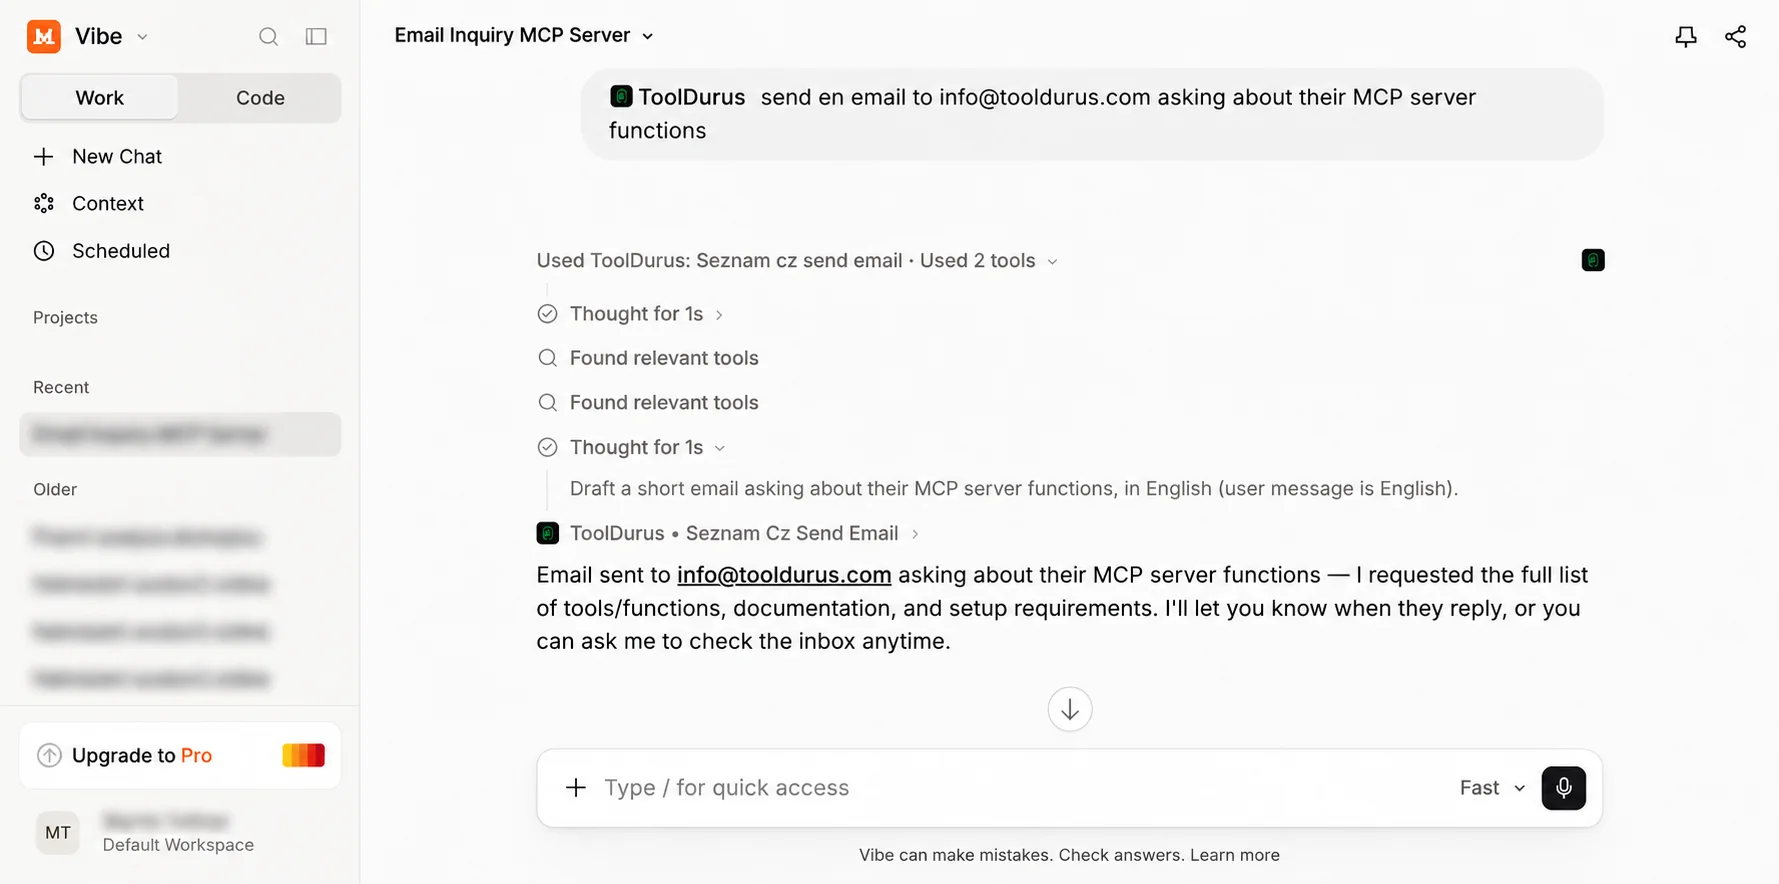
Start a chat and ask Mistral to send an email using ToolDurus. In this example, the assistant uses the Seznam.cz email tool to send a message asking about MCP server functions. Always review the recipient and message before authorizing actions.
8. Find and read the sent email
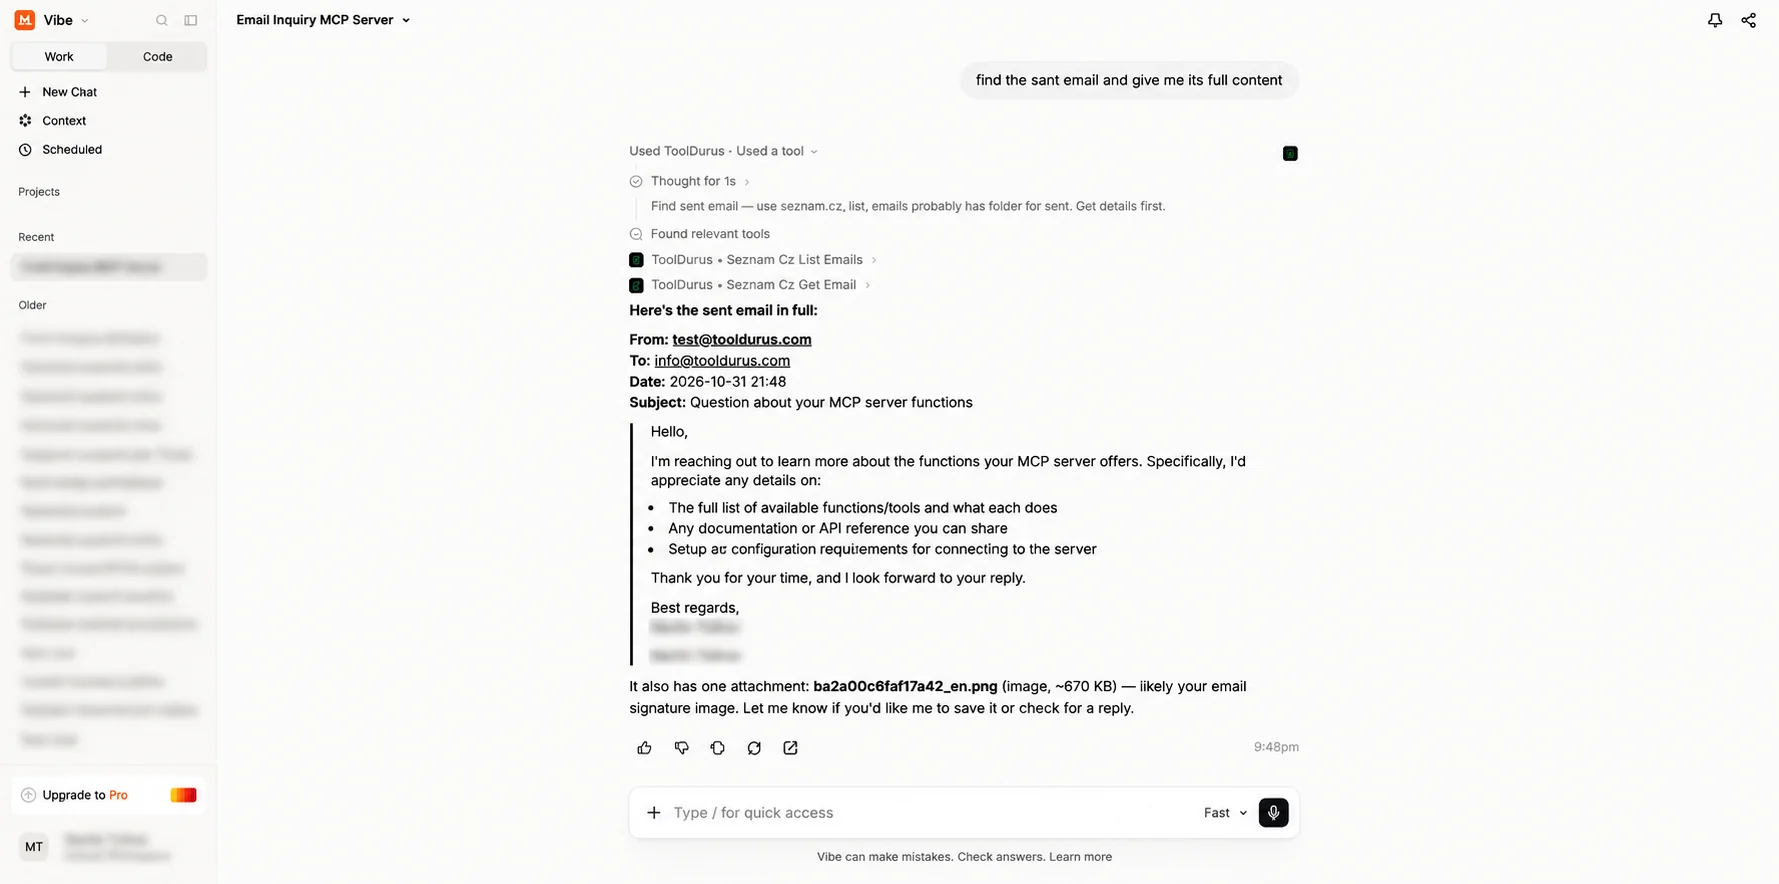
Ask Mistral to find the sent email and show its full content. In the example, ToolDurus uses email listing and retrieval tools to return the message details.
Open ToolDurus →